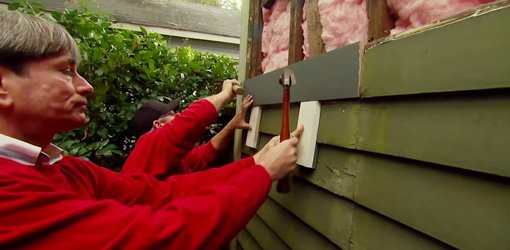
Patch Lap Siding How Remove Nails Top Row

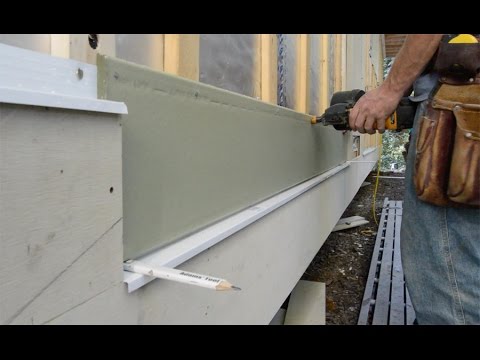
Strip Of Wood Nailed To Lower Edge Of Wall To Kick Out Bottom Of First Siding Row Siding Repair Fiber Cement Siding Hardboard Siding

Pin By Distinguished Boards And Beams On Home Rustic Lap Siding Installing Siding Installing Wood Siding
How To Replace Damaged Lap Siding Video The Money Pit
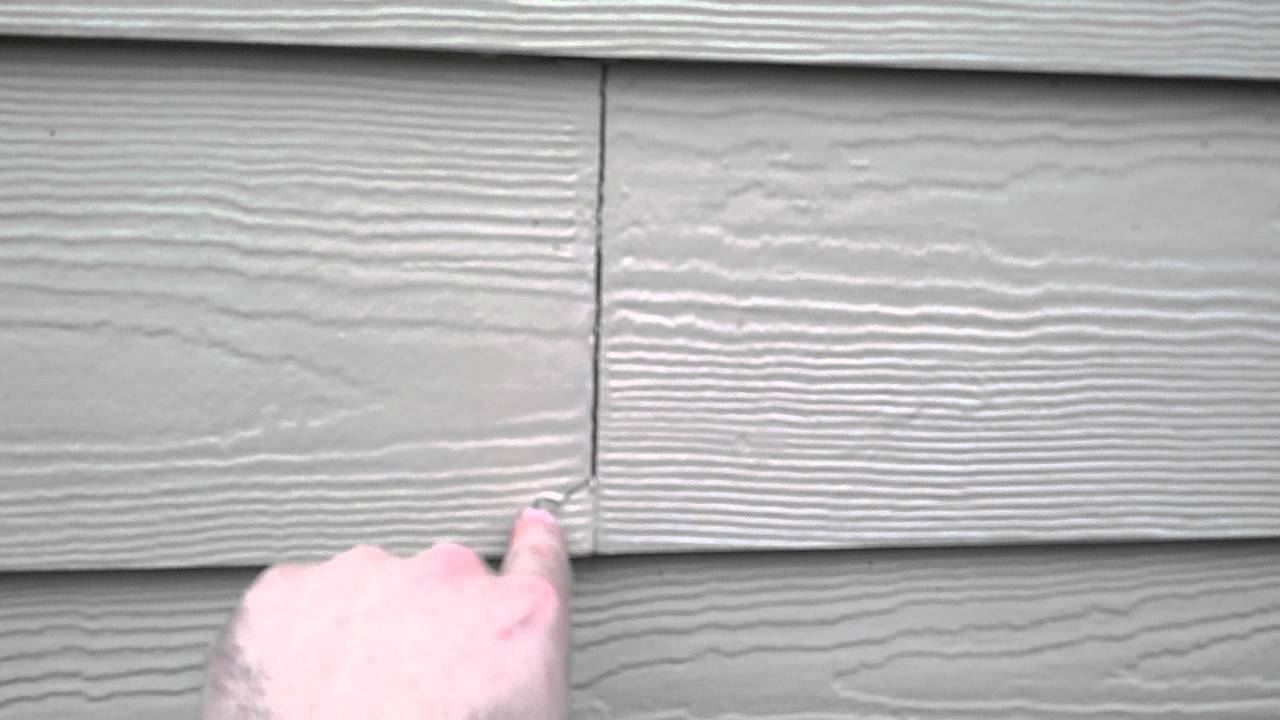
Treatment Of Field Joints Butt Joints On Hardieplank Lap Siding Primed Version Youtube
Lap Siding Installation Basics Youtube

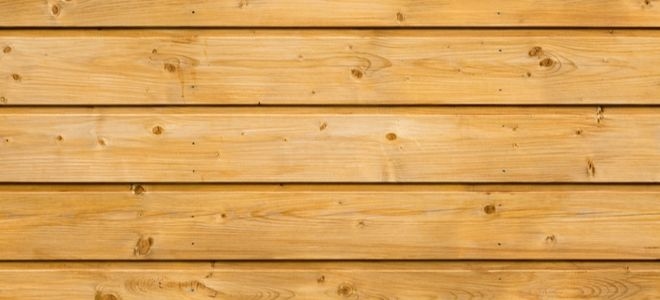
Wood Siding How To Part A Installing Bevel Siding Old House Web Wood Siding Siding Exterior Siding Colors

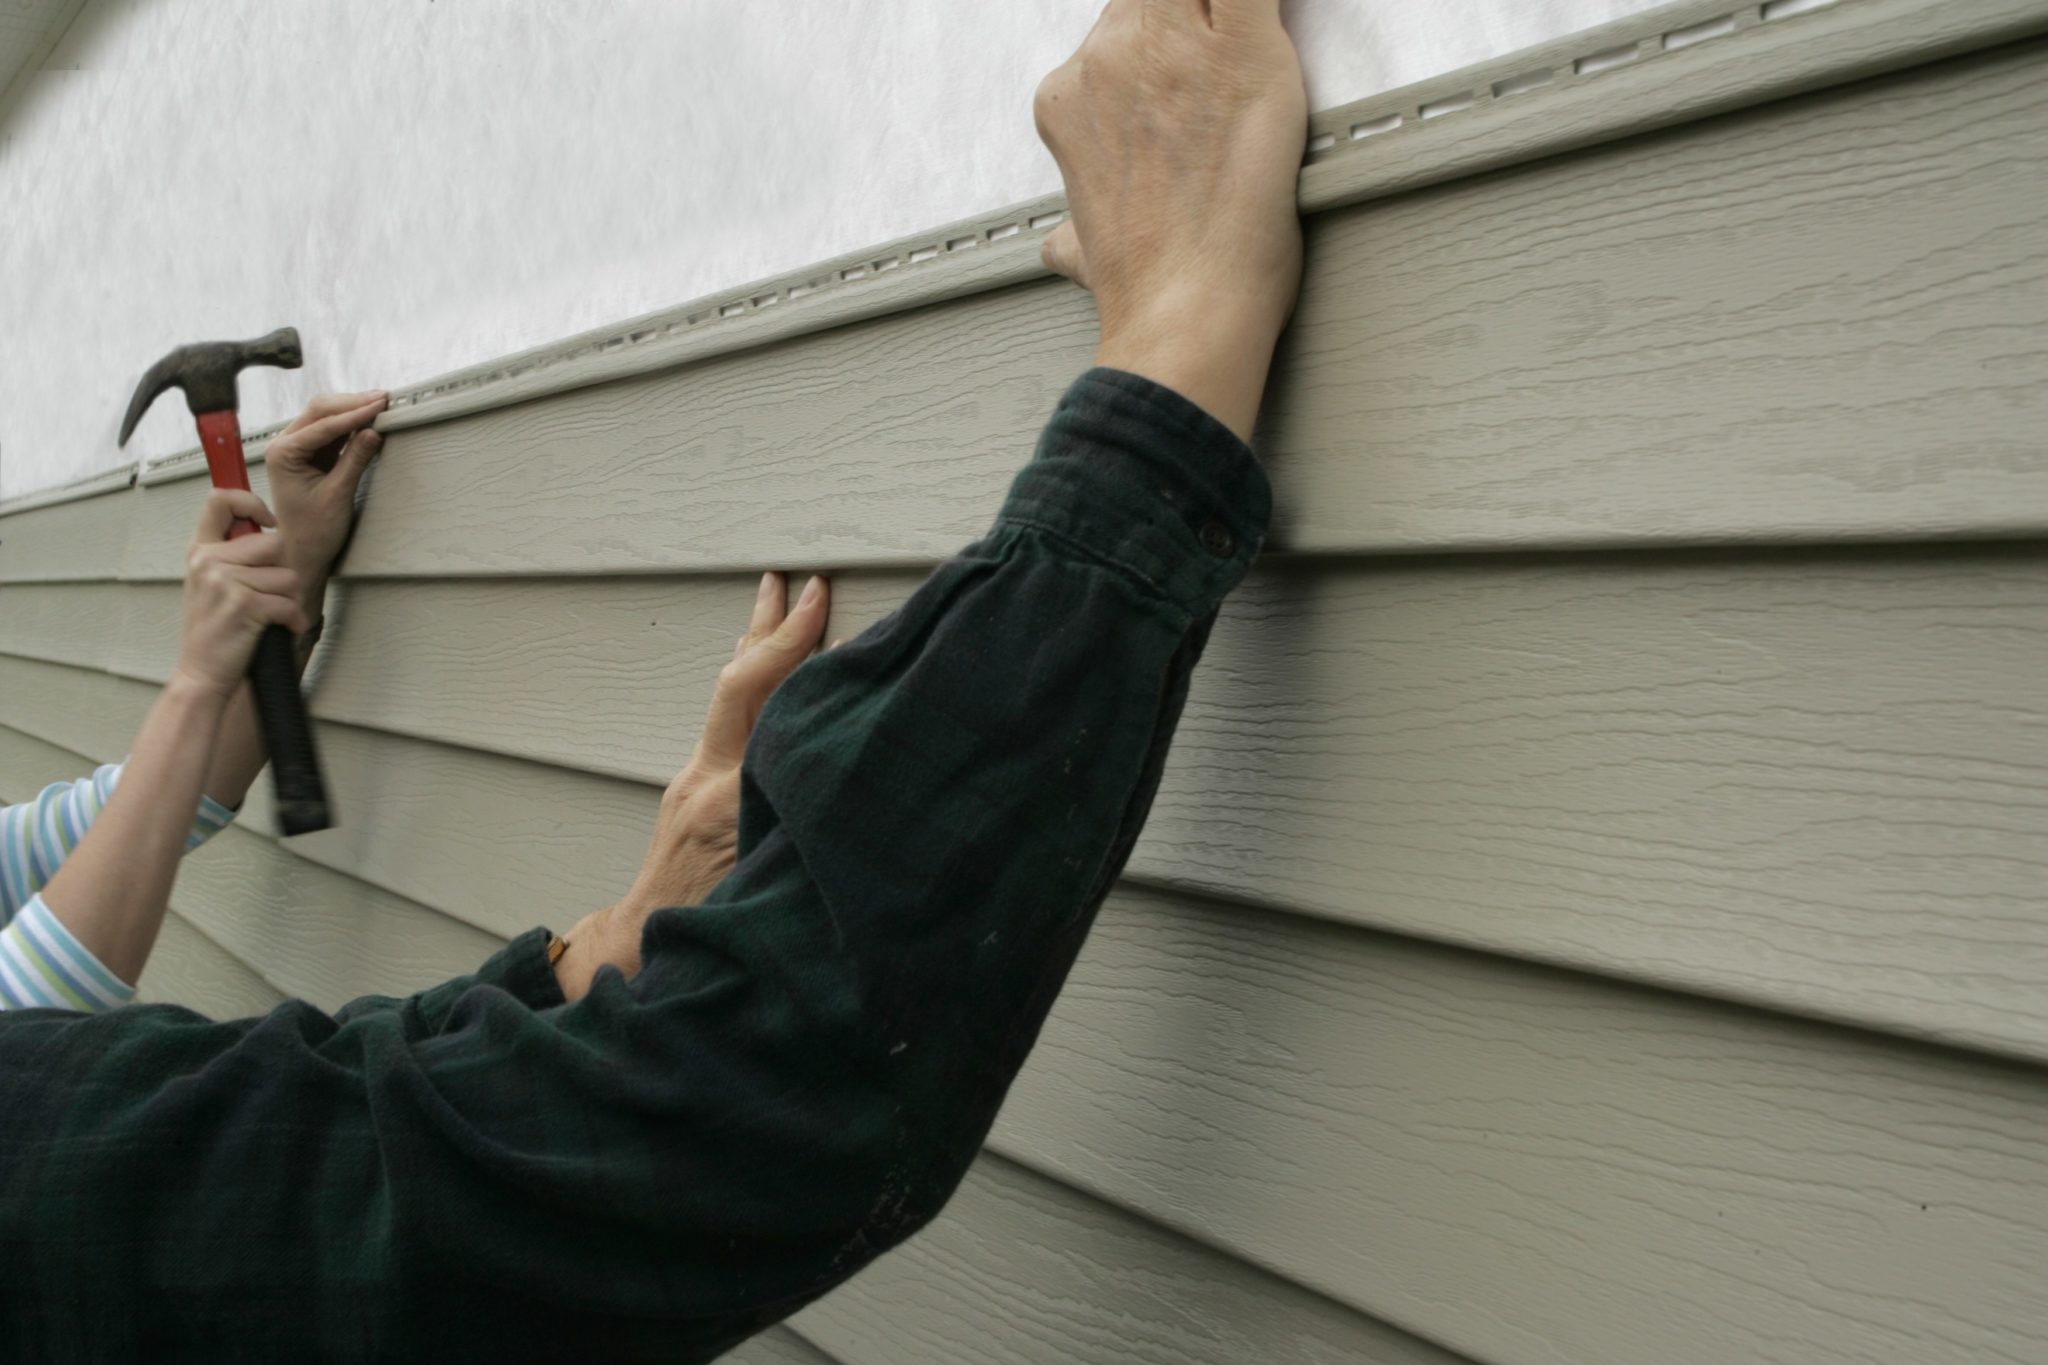
Where a piece of siding overlaps the piece beneath it the installers drive a row of nails through both layers.
Patch lap siding how remove nails top row.

Kaycan Vinyl Siding Installation Tips Overlapping Youtube

Siding For Deck Builders Professional Deck Builder

How To Fix Loose Vinyl Siding Vinyl Siding Siding Repair Vinyl Siding Maintenance

Damaged Hardboard Siding Fell Off Wall After Removing Nails Wood Siding Exterior Replacing Wood Siding Masonite Siding

Lp Smartside Lap Siding Installation Using H Molding Youtube

How To Repair Damaged Wood Siding Today S Homeowner

Soffit And Fascia Installation Vinyl Siding Installation Roof Installation Fascia

How To Repair Amp Save Your Masonite Siding Youtube Siding Repair Masonite Siding Siding Paint
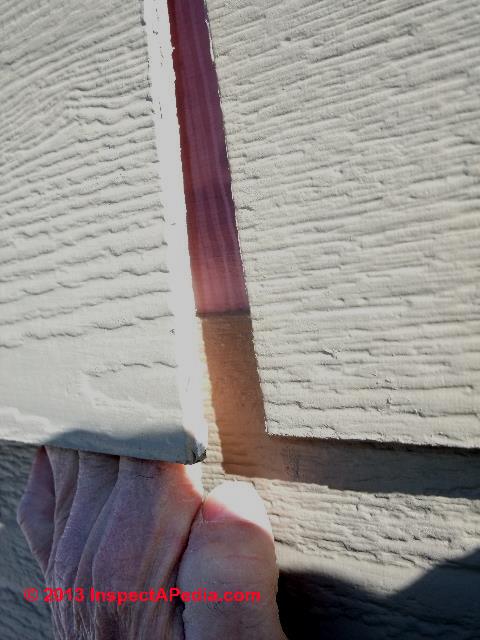
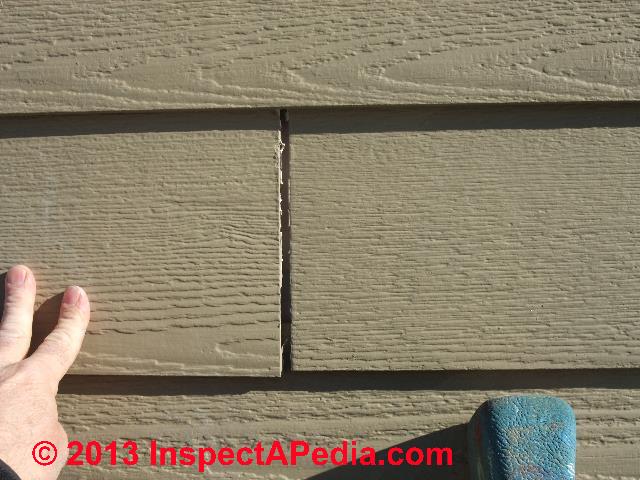
Fiber Cement Siding Repair Advice Specifications How To Repair Fiber Cement Lap Siding Butt Joint Trim Joint Gaps Damage Peeling Paint Loose Boards

Siding A House Solo With Adjustable Hooks Siding Lap Siding Cement Siding
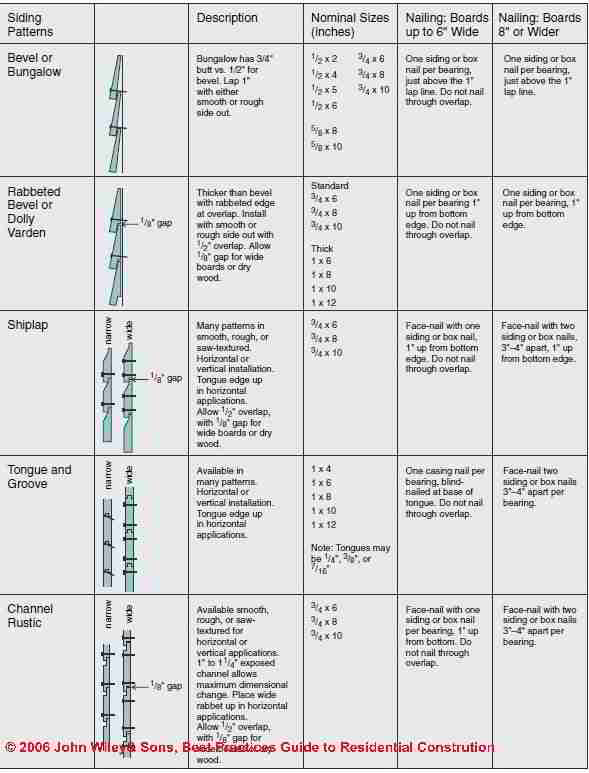
Guide To Installing Wood Wall Siding
How To Replace Damaged Wood Lap Siding Today S Homeowner

How To Replace Fiber Cement Lap Siding Boards Doityourself Com

Pallet Wood Wall Cladding Clad Rustic Office Rusty Light Bulk Effect Pallet Industrial Design Decor Wood Interior Walls Wood Pallet Wall Wood Wall Covering
Certainteed Weatherboards James Hardieplank Siding Identification Installation Fiber Cement Siding Caulking Clearance Gap Specifications How To Diagnose The Cause Choose A Cure For Fiber Cement Lap Siding Butt

Correct Nailing Of Lap Siding Clapboard Siding Exterior House Siding Lap Siding
How To Replace Damaged Clapboards Old House Journal Magazine

Fiber Cement Siding Nailing Defects Fc Siding Shingle Nailing Guides Mistakes Repairs
1

Closed Valley Dependable Construction Remodeling Fairborn Oh Construction Remodeling Roofing Roof Shingles
4 Steps To Install Lap Siding Doityourself Com

10 Mistakes To Avoid When Installing Faux Shiplap Faux Shiplap Shiplap Home Improvement

Led Exterior Soffit Lighting Should Be Installed Wherever You Need Outside Lights They Are Sheltered From The H House Exterior Roof Soffits Exterior Lighting
Https Www Fema Gov Media Library Data 20130726 1644 20490 2776 757 Apd 8 Sidinginstallation Pdf
Source : pinterest.com
